 |
| It can't be that bad...right? |
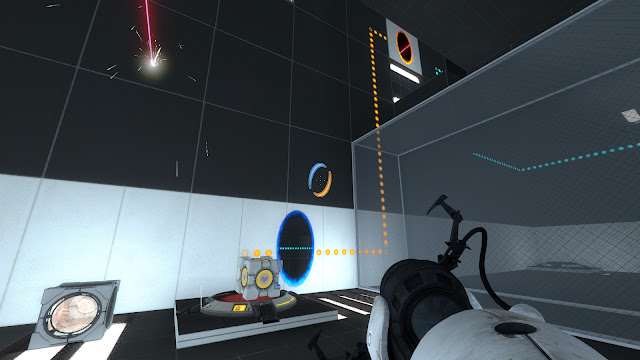
My level is called Defy Gravity and it is named as such due a very unique feature it contains. Lets begin from the start. On the left side of the chamber is the OR gate in my level. It works through a set of two timed pedestal buttons. Each is connected to a laser emitter, both of which will hit the central laser relay when activated. These are the two inputs in the OR gate; the output is the flip panel which is connected to the laser relay.
When either of the buttons are pushed, their respective laser is turned on which in turns activates the flip panel (for the duration of the pedestal timer). This is the primary means to travel between the main two sections in the chamber.
 |
| From the entrance. The first thing you notice is the pedestal button to your left. |
 |
| This is the activated pedestal button on the left side of the OR gate. |
 |
| The other side of the OR gate. |
 |
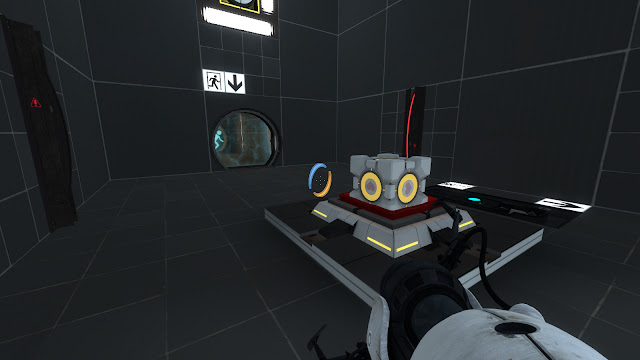
| The two cubes. (Companion cube has been moved onto the nearby button.) |
 |
| Make sure to place the cube on the center of the piston facing the laser receiver! |
 |
| Now you can access the faith plate which leads to the button. |
We have reached the point of no return. Prepare to defy gravity. The button featured above controls two different mechanisms: the piston platform, and the shown laser emitter. In its off state the piston is off and the laser is on. Inversely, when on the piston is on and the laser is off; this makes is a dual normal/NOT gate. It is hard to explain how this mechanic works so please refer to the youtube video.
As you can see, when the player steps off the button, the piston lowers and the laser turns back on. The trick is that the reflection cube will stay floating when the piston is lowered down again. I'm not sure whether this is an intentional feature or a glitch, but it can lead to some really interesting design possibilities and my level certainly takes advantage of it.
The laser emitter turns on a tractor beam which leads to the level exit. But to get there you must first head back to the first section of the level (via the OR gate). Using the OR gate is the only way to get back and still have the companion cube with you. You must then use the cube to raise a set of nearby stairs. This gives access to the pedestal button, which activates a flip panel. If you can't reach it, jump!
With the button pressed you can portal up to the flip panel and jump to the nearby faith plate. This leads to the tractor beam on the opposite side of the chamber; you are almost there!
 |
| The stairs only remain active while the button is pushed. |
 |
| Here we gooooo! (Don't forget your cube <3) |
 |
| Wubwubwub. |
 |
| Nicely done :) |
No comments:
Post a Comment